


DIY Mini Burlap Baskets
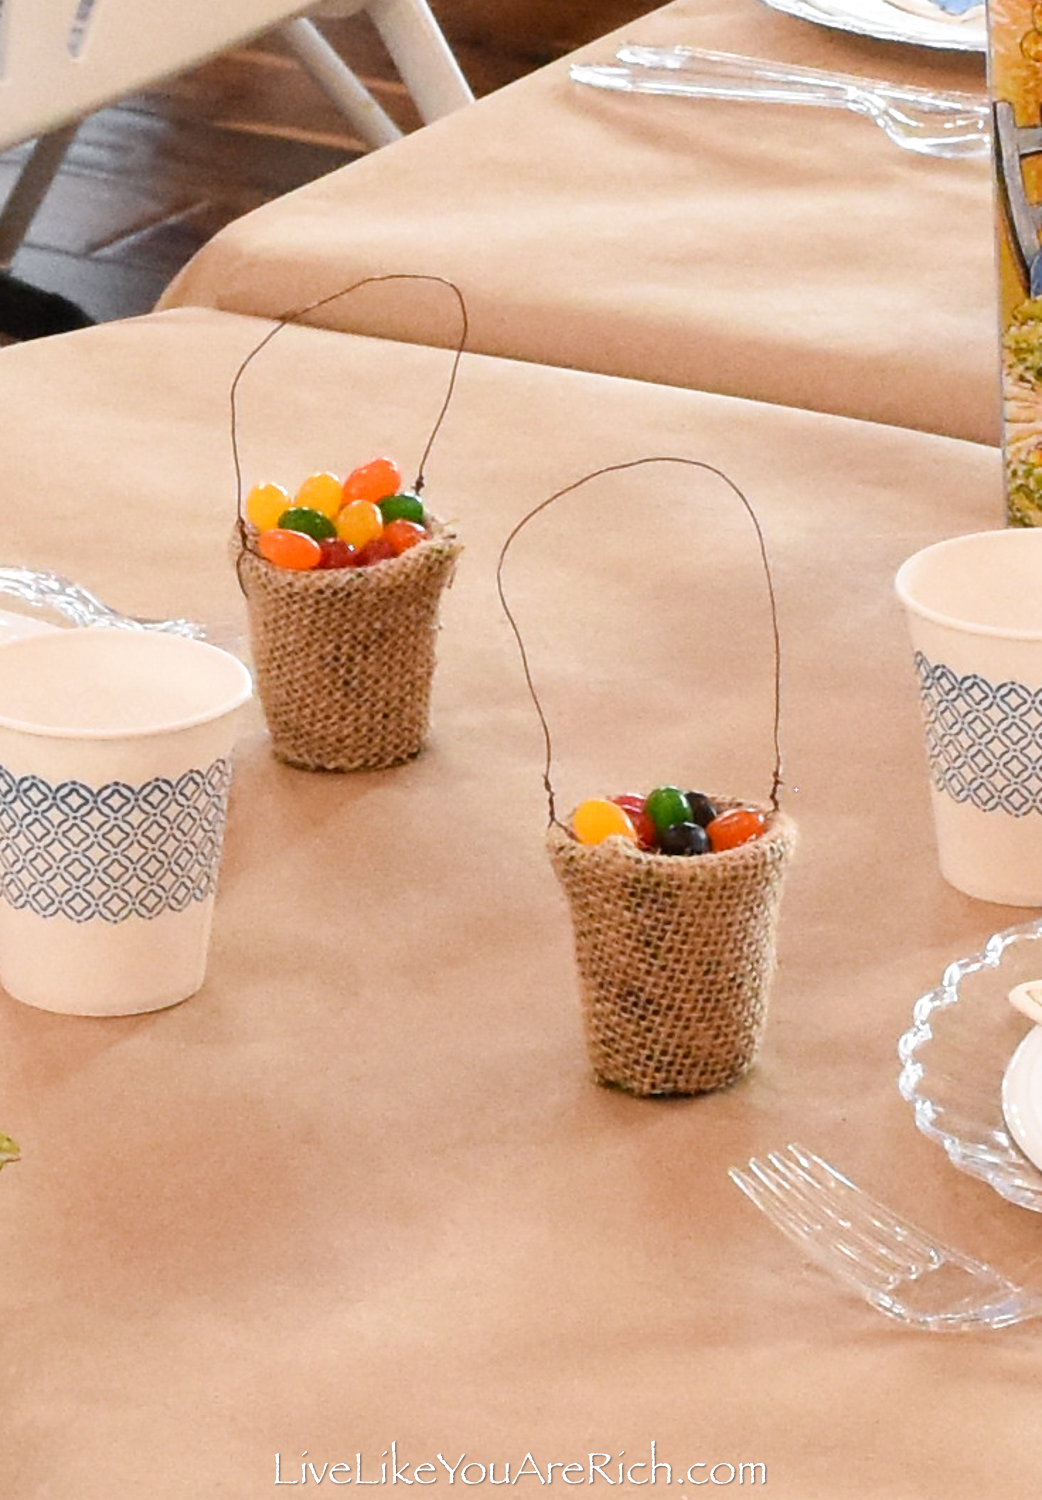
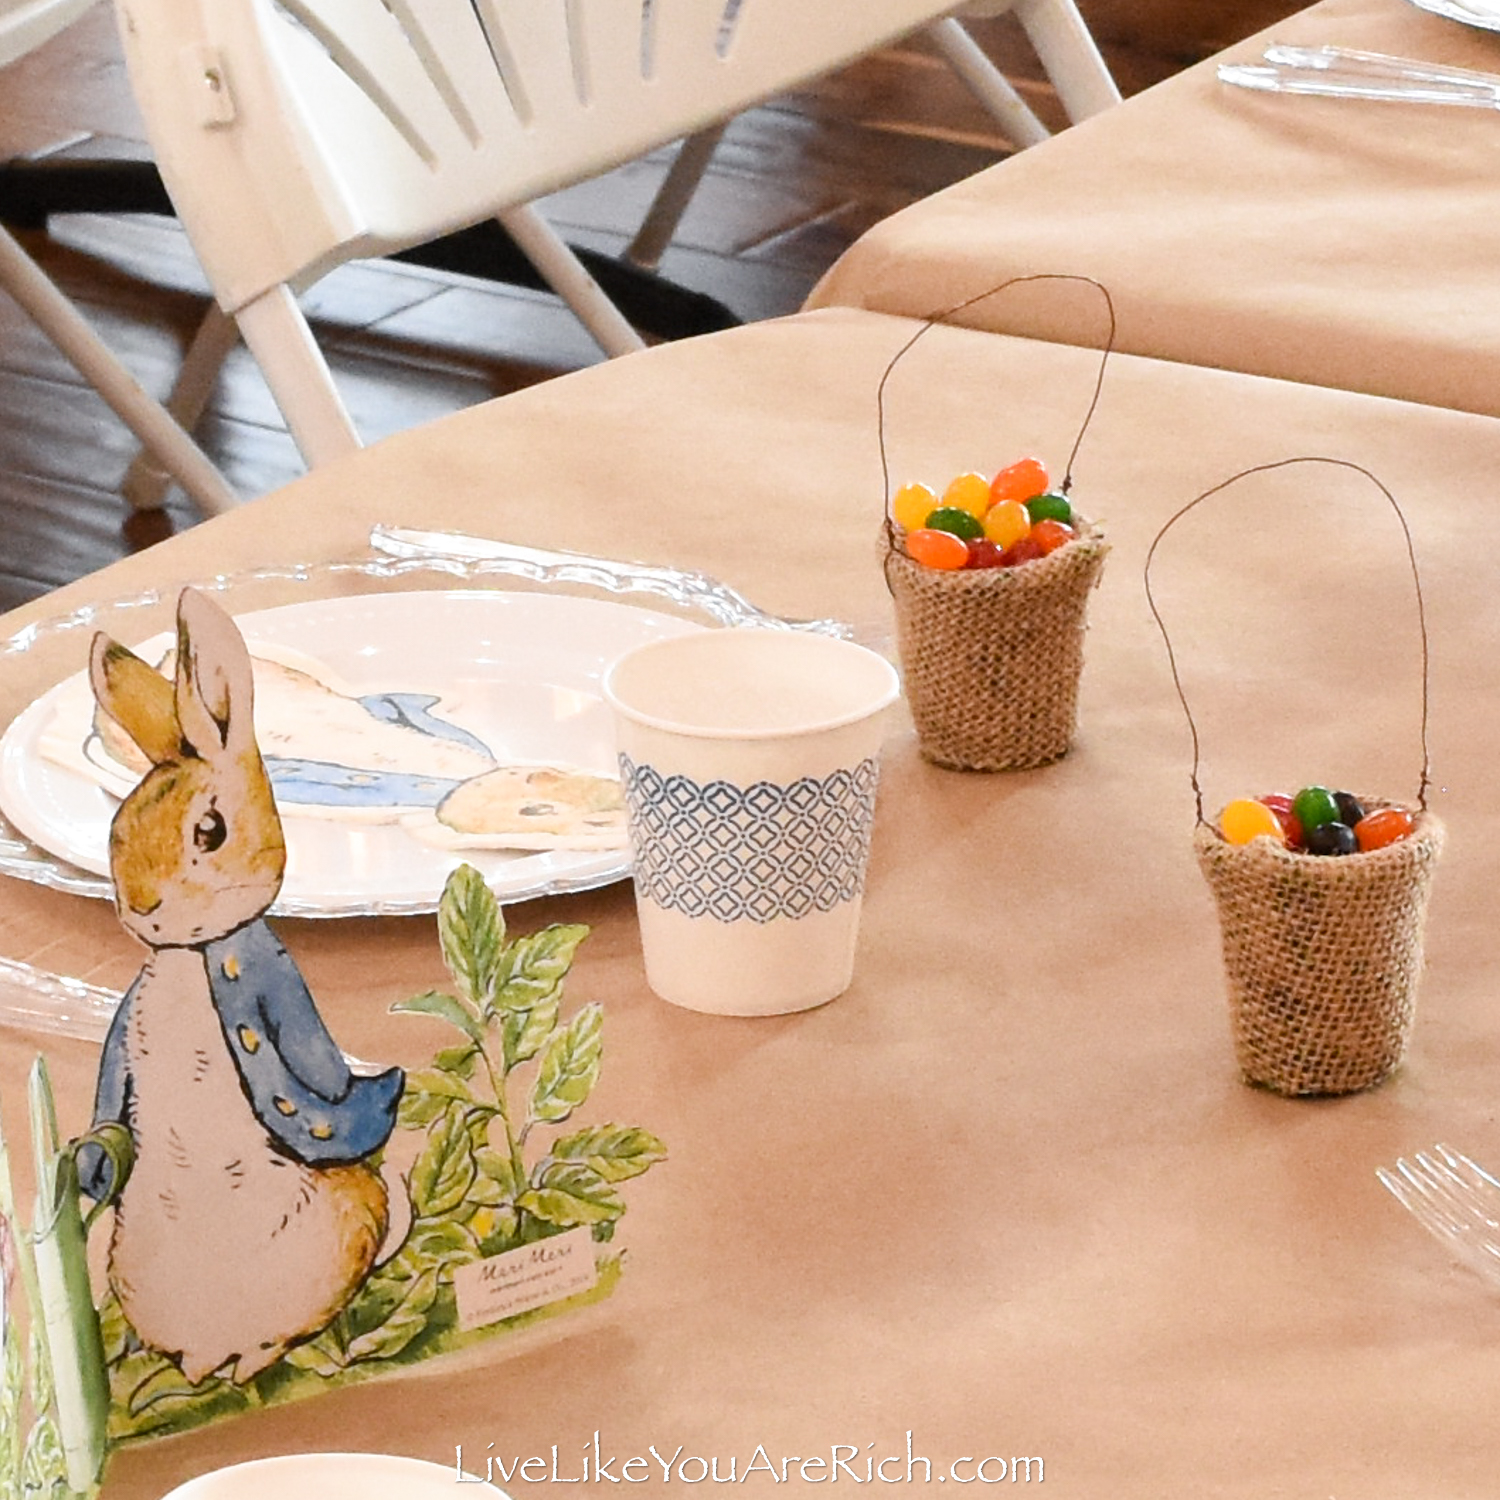
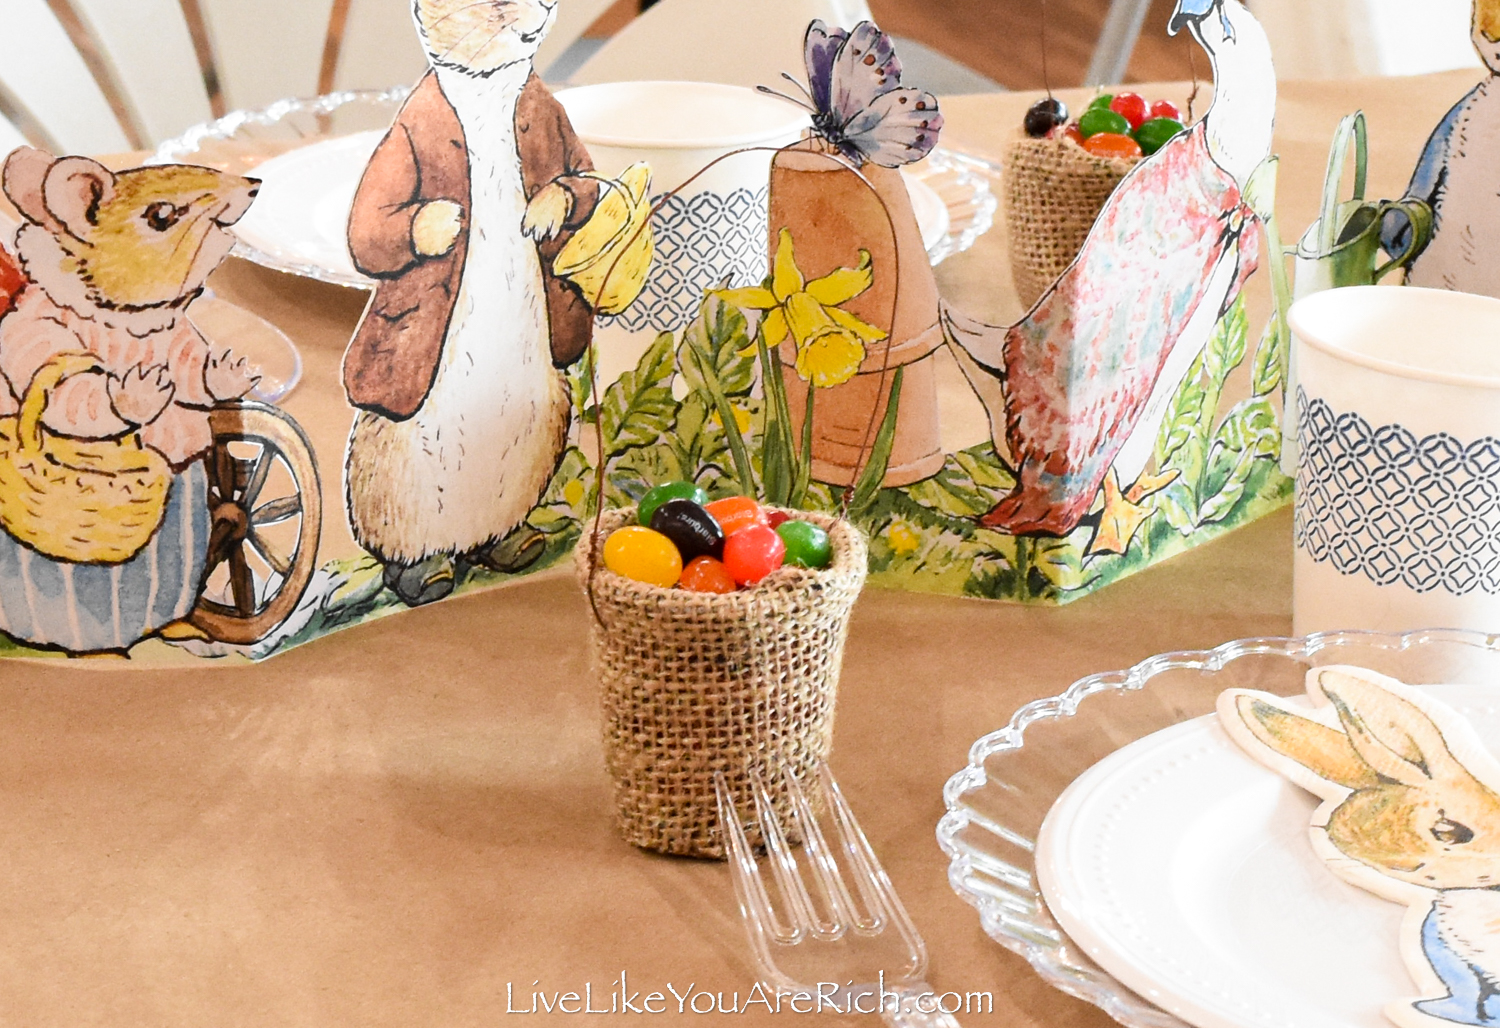
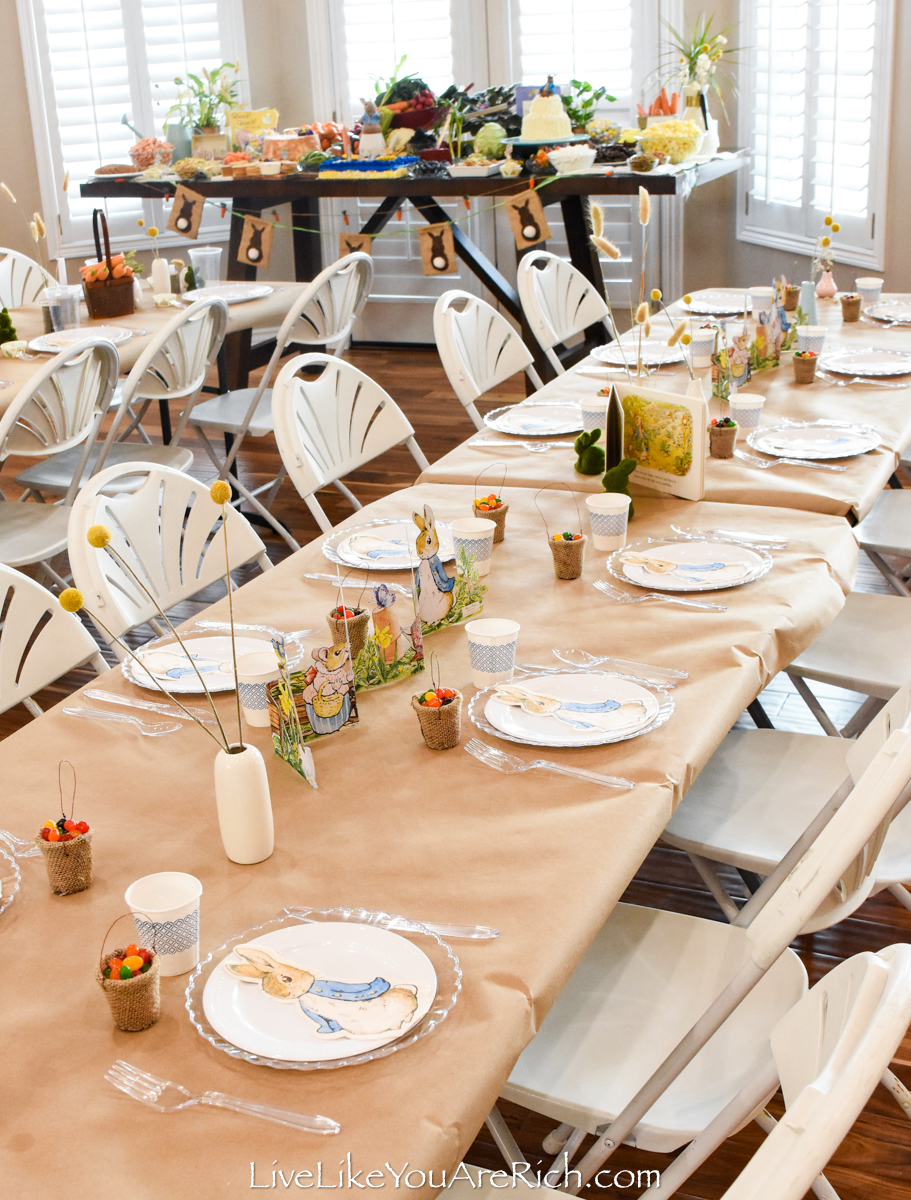
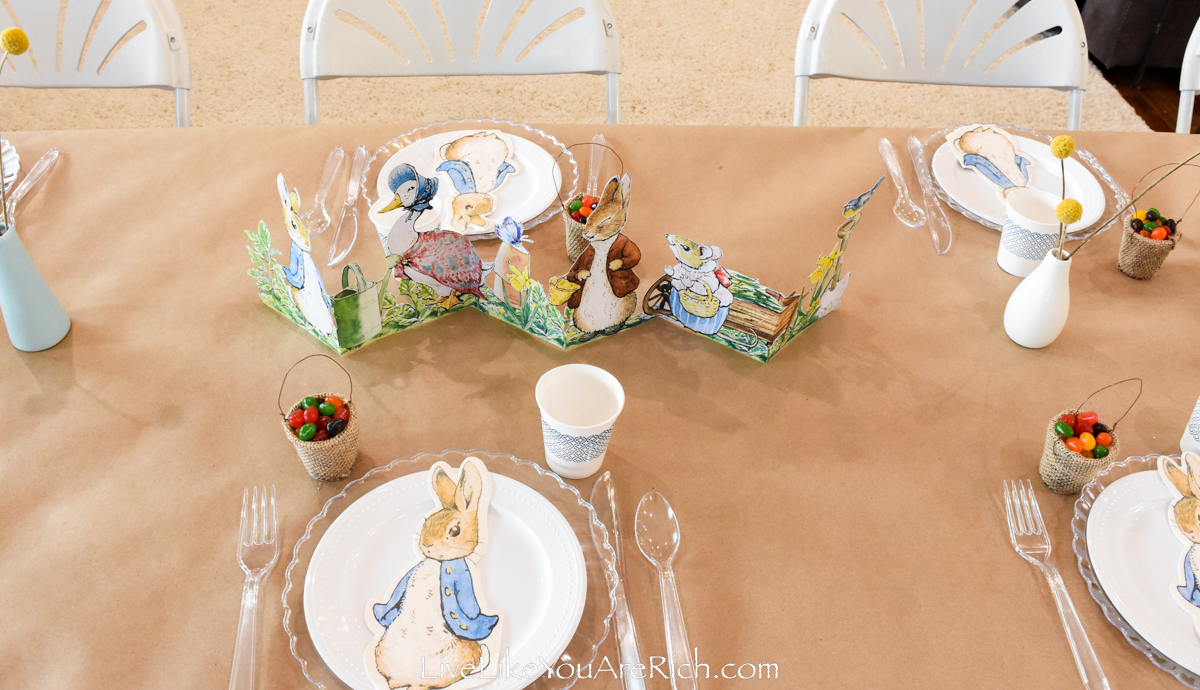
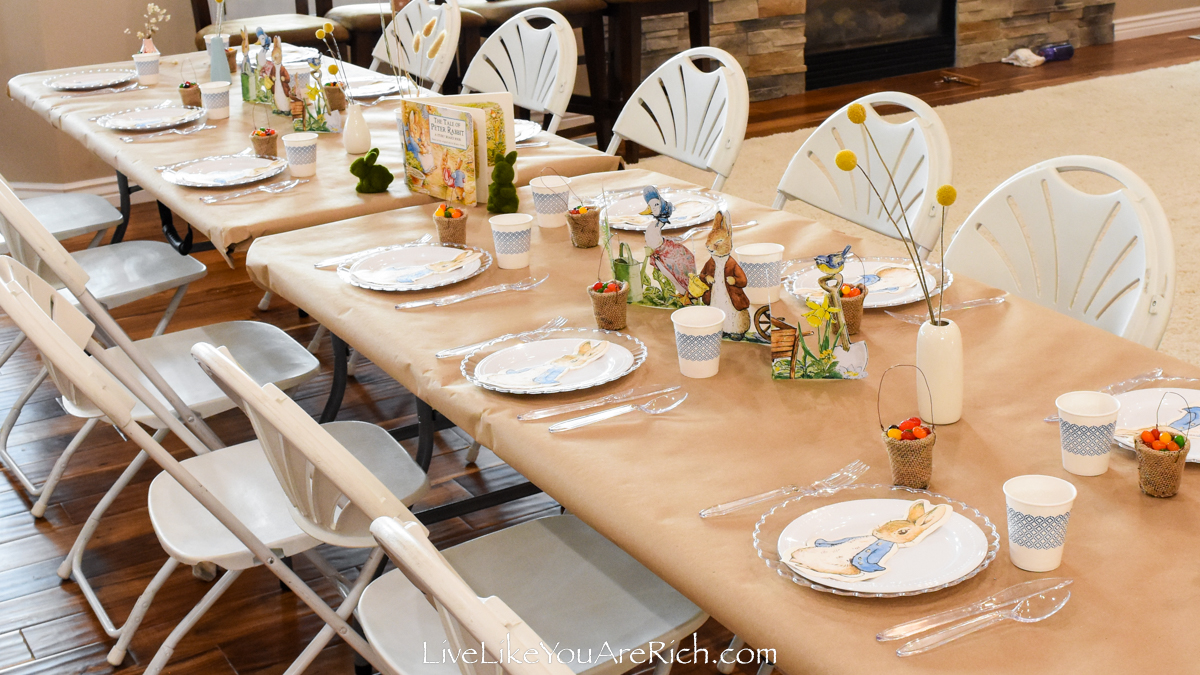
These DIY Mini Burlap Baskets were a fun craft to make with my daughter to dress up our Peter Rabbit Kids’ Tablescape.
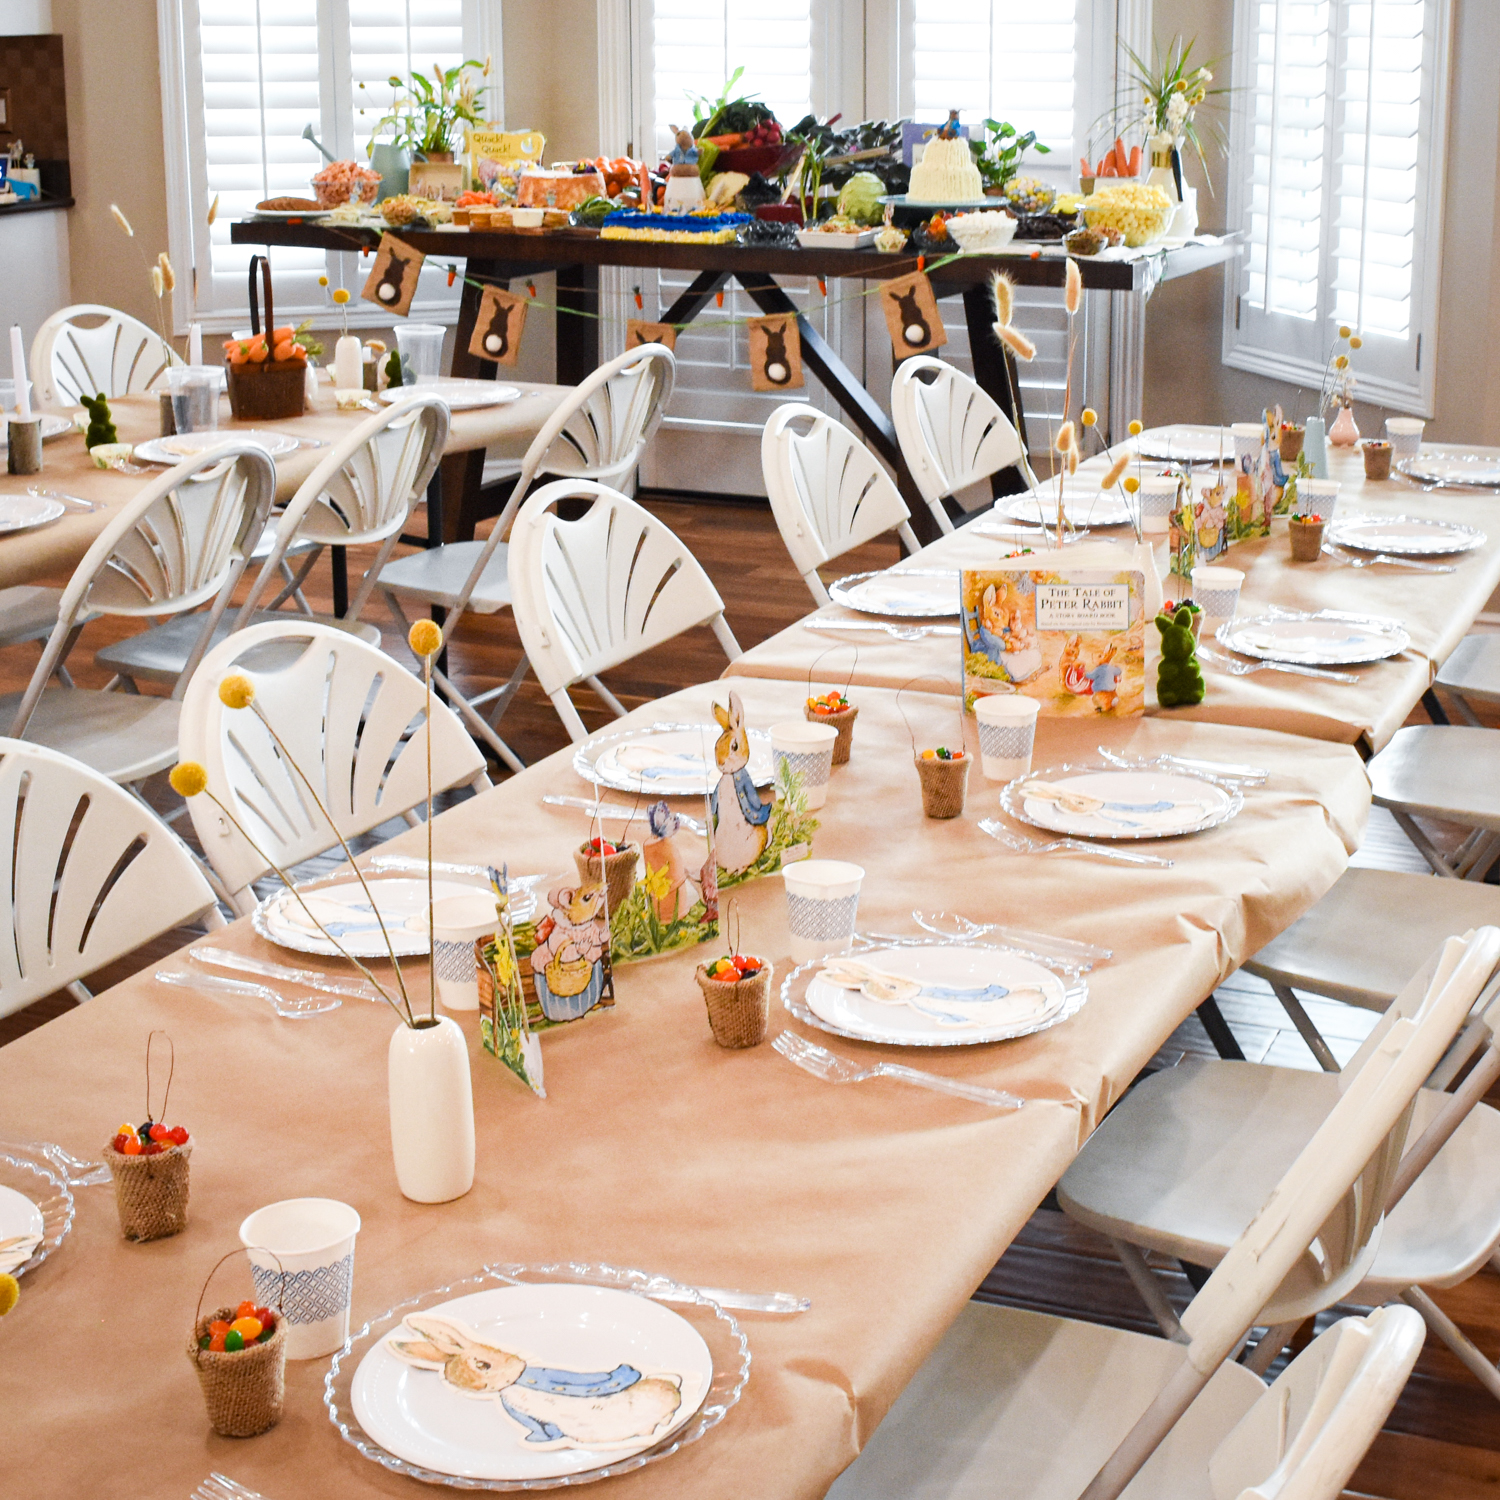
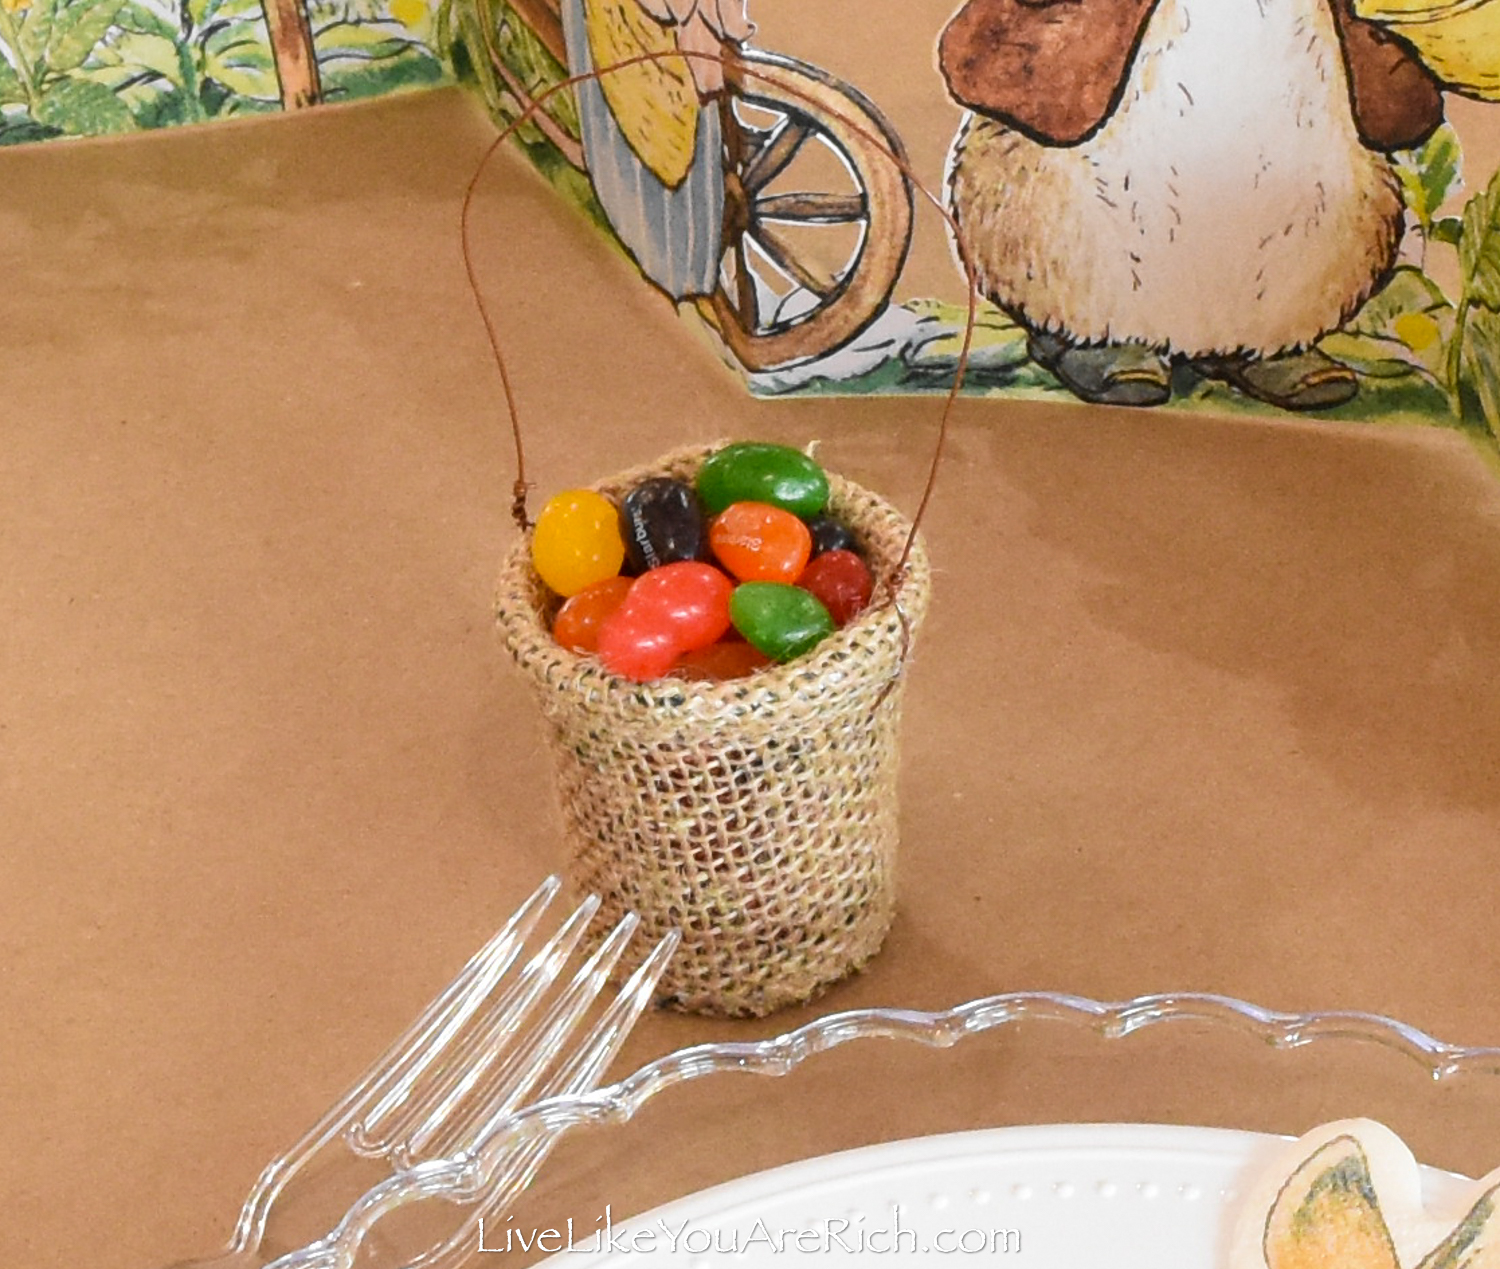
We filled them with Jelly beans and they were a hit.
I just used burlap ribbon that I had on hand to make these. The burlap that I used had black patterns on one side.
Even though I used the blank side facing out, I think the black paint/pattern on the inside of the burlap ribbon was able to show through which gave the burlap basket a bit more dimension and more of a vintage look than had it been plain burlap.
I appreciated the look it achieved and it was one of those unexpected pleasant surprises that happen sometimes when you use materials that you have on hand.
So, if you want your baskets to turn out just like these, I’d recommend either buying burlap ribbon with a dark pattern on it (I’ll link to one in the supply list below), or stamping or painting your burlap with black crafting paint on one side.
Simply dab black paint in random ways until you have pretty good coverage and then let the ribbon dry completely before gluing it onto the cup.
How to Make these DIY Mini Burlap Baskets
Continue reading and/or watch the video tutorial on this page.
1- Collect the supplies—there is a list below.
2a- Wrap and hot glue burlap ribbon (5″+ thick) onto the sides of small plastic drinking cups (Dollar Tree).**See an important tip for doing this step below**
2b- Leave the extra burlap on the top/rim of the cup to fold down into the cup and secure it with hot glue.
2c- Trim away all excess burlap at the bottom of the cup (so it will stand up straight). Cut a circle shape the same size as the bottom of the cup out of burlap and hot glue that onto the bottom.
This step is because if you wrap the burlap onto the bottom of the cup as you will do with the rim, it will be bulky and will likely make the cup unbalanced so that it won’t stand straight.
3a- Using a candle flame and floral or craft wire, place the floral wire into the flame until it is hot then stab it through the plastic cup.
If the wire is hot enough, it will go straight through the plastic, making a precise hole about the same size as the wire. Using needle nose pliers and wire cutters, pull a few inches of wire through the cup and then cut the burned wire off. Make sure the wire has cooled before touching it!
3b. Wrap the floral wire around itself just above the rim of the cup and secure the sharp end down with needle nose pliers.
3c. Manipulate the wire to shape a handle then leave about 4 inches of extra wire (for the burning and the wrapping of the other side) and cut the wire.
3d. Next, directly across from the first hole you made with the wire, complete steps 3a-3c. If this is confusing, it would be best to watch the video I have uploaded to this post/webpage.
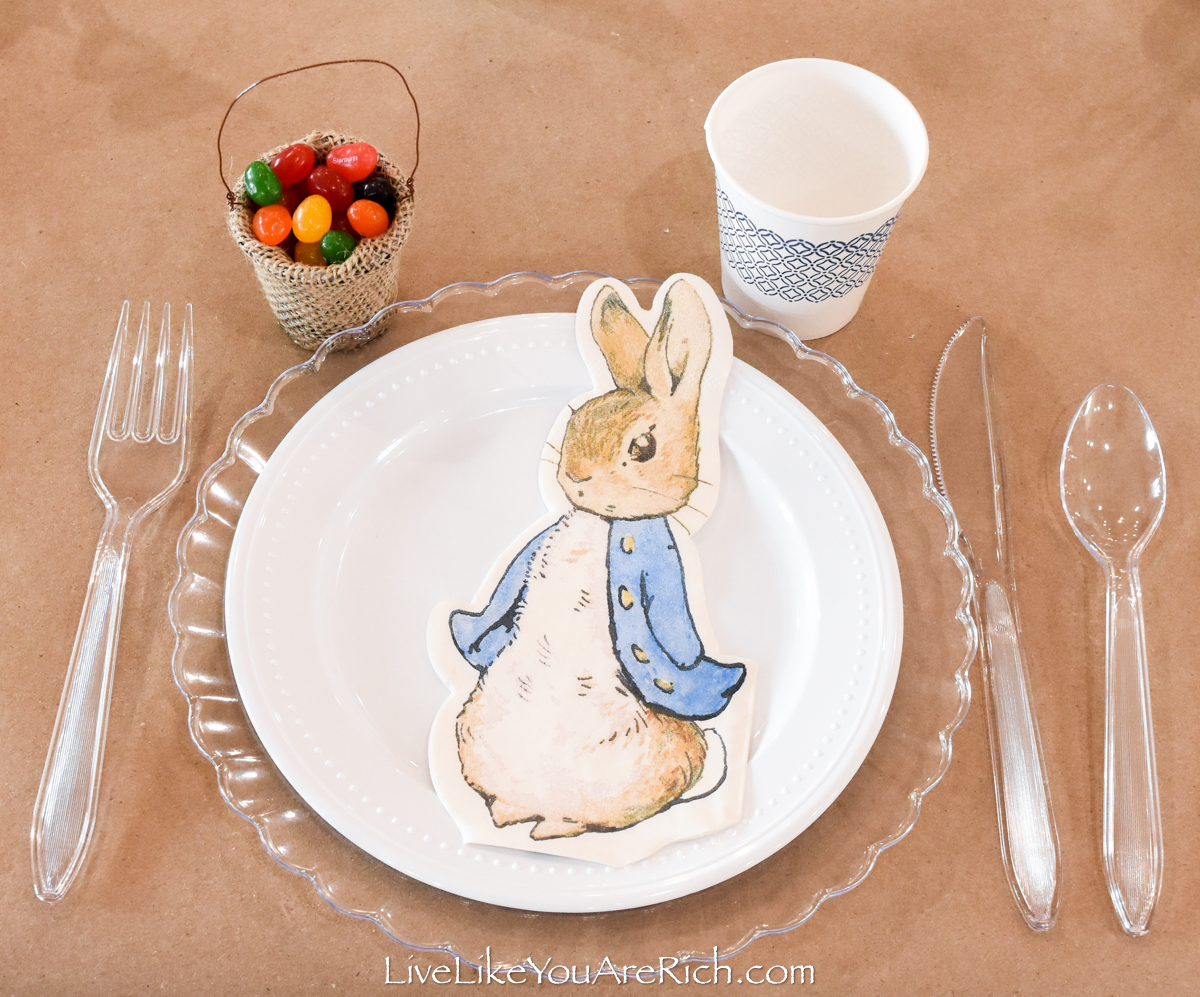
4- Stuff the bottom of the cup with green packaging paper, tissue paper, or faux grass and fill it with candy or any other small item.
That’s it! Easy huh? Well, actually not quite. I was surprised at how tricky this craft actually was.
** This is harder to make than it looks like it would be from the outset. The trickiest part of this craft is working with plastic, hot glue, and burlap. The hot glue seeps through the burlap and doesn’t love to stick to the plastic cups. So, you need to wear thick gloves or use a crafting stick or stick of hot glue to hold the burlap down until the glue cools. Do this by rolling the stick towards the edge of the burlap (to help secure the burlap). Keep the stick moving to prevent it from cooling/drying onto the cup.
Despite a few tricks, after a few of the baskets were made, it was simple to make the rest.
These DIY Mini Burlap Baskets turned out so cute and were made with materials I had on hand.
Supply List for these DIY Mini Burlap Baskets
Small plastic disposable drinking cups 2 oz. (Dollar Tree)
Burlap ribbon 6″+ wide Burlap ribbon with black pattern on one side
optional-green packaging paper, tissue paper, or fake grass
PETER RABBIT POSTS
PETER RABBIT 1ST BIRTHDAY PARTY
PETER RABBIT TABLESCAPE FOR KIDS
PETER RABBIT TABLESCAPE FOR ADULTS
PETER RABBIT PARTY FOOD AND DECOR
PETER RABBIT BIRTHDAY CAKE (FONDANT RABBIT)
ANGEL FOOD CAKE MADE FROM SCRATCH
Check back in the coming week or two for the posts about this Peter Rabbit Birthday Party with specifics on items used, tutorials, and more.
I hope this post serves useful for creating DIY Mini Burlap Baskets!


For other ‘rich living tips’ please subscribe, like me on Facebook, and follow me on Pinterest and Instagram.
