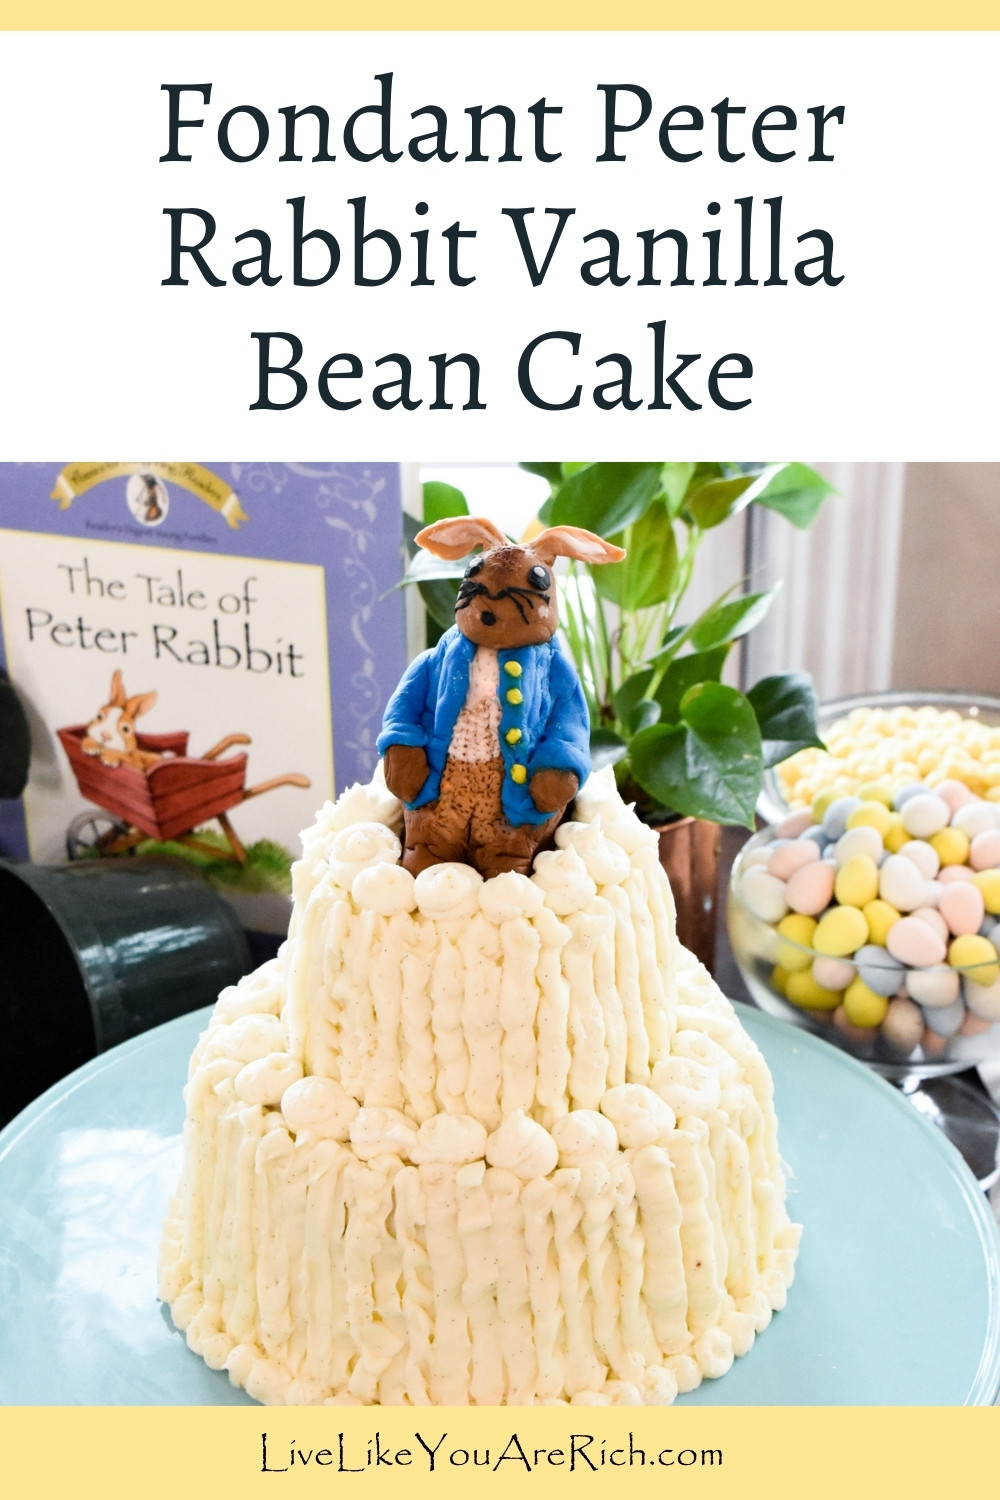

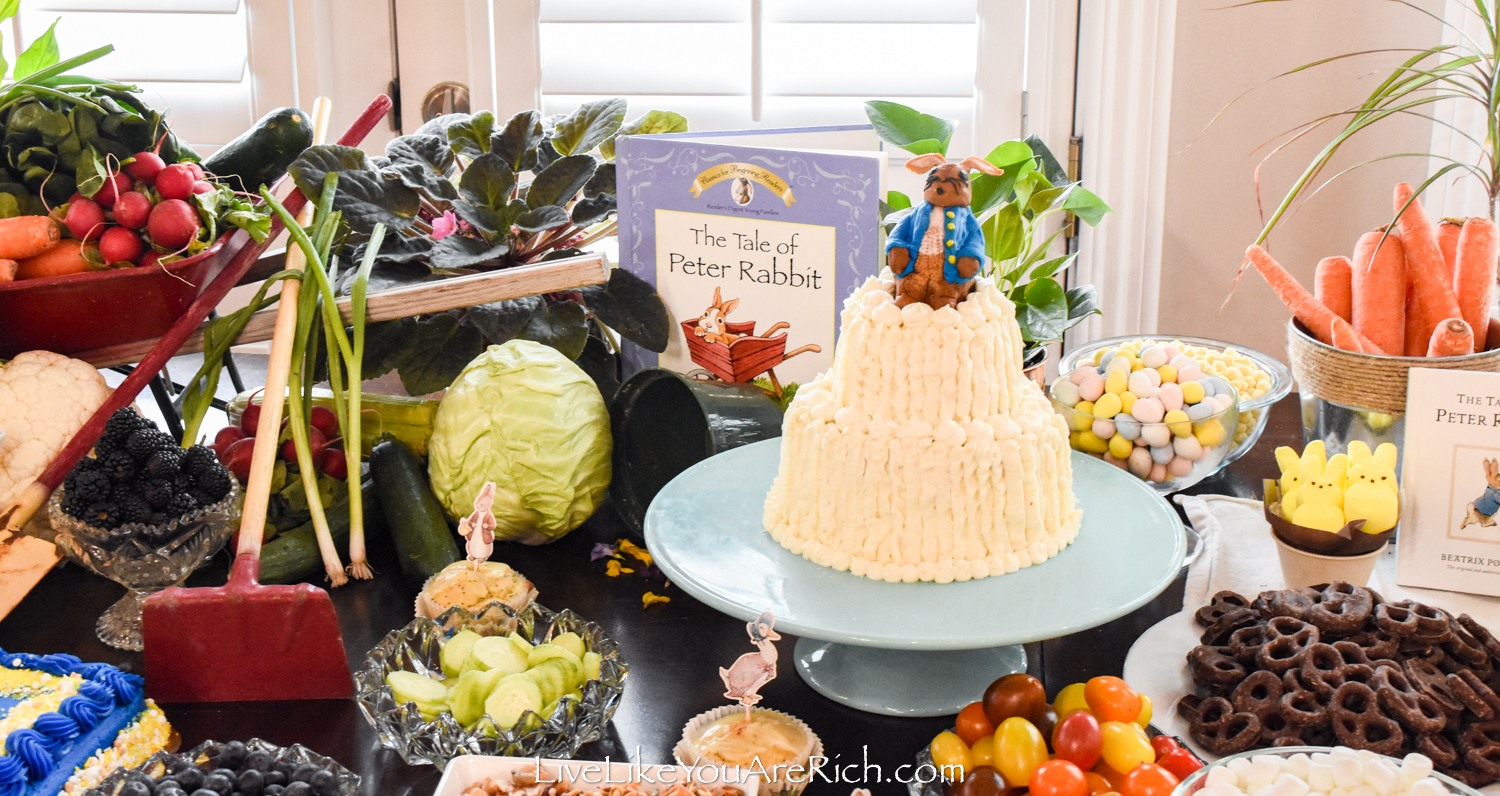
I made this Fondant Peter Rabbit Vanilla Bean Cake for my son’s first birthday party.
I made this Fondant Peter Rabbit Vanilla Bean Cake for my son’s first birthday.
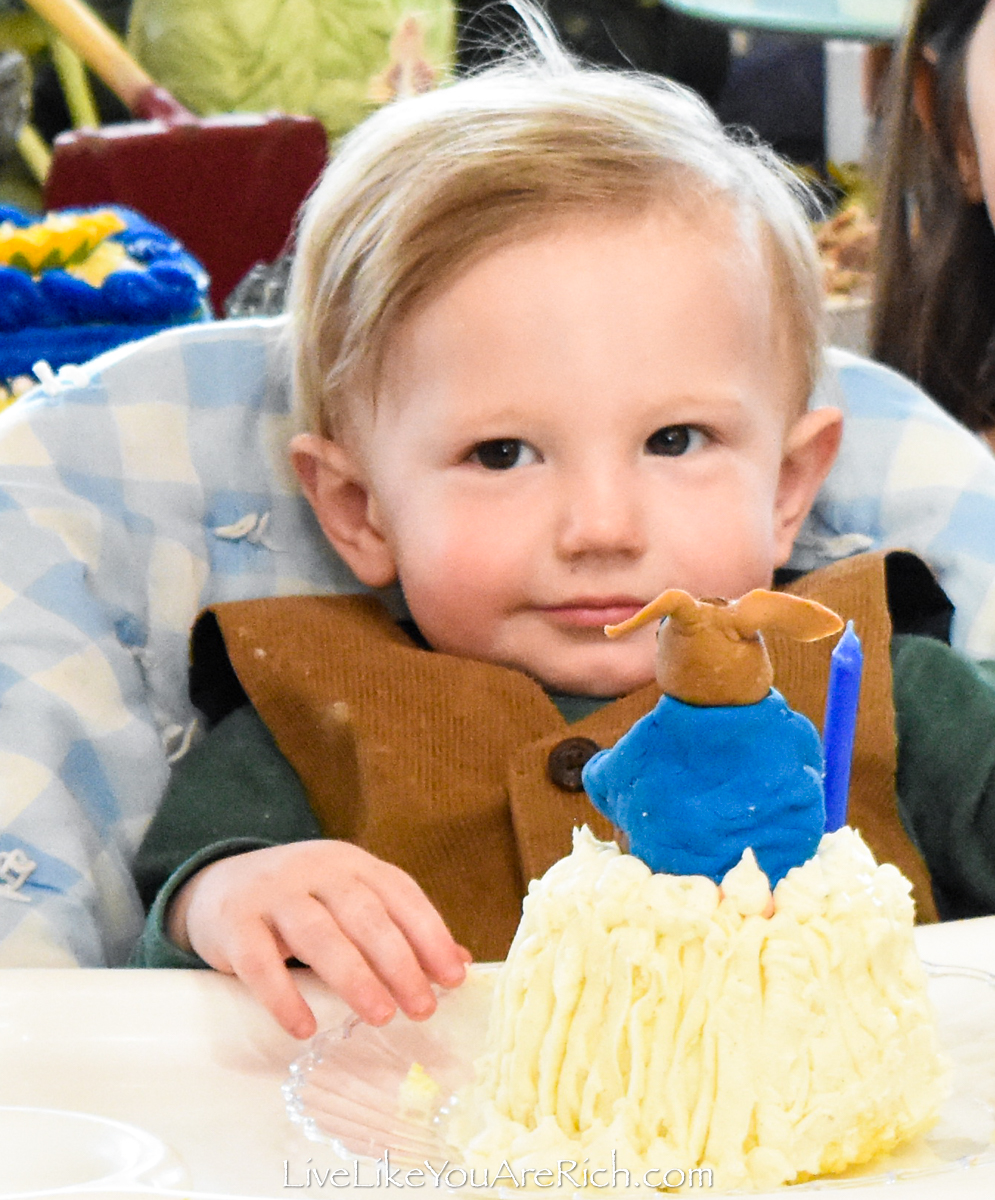
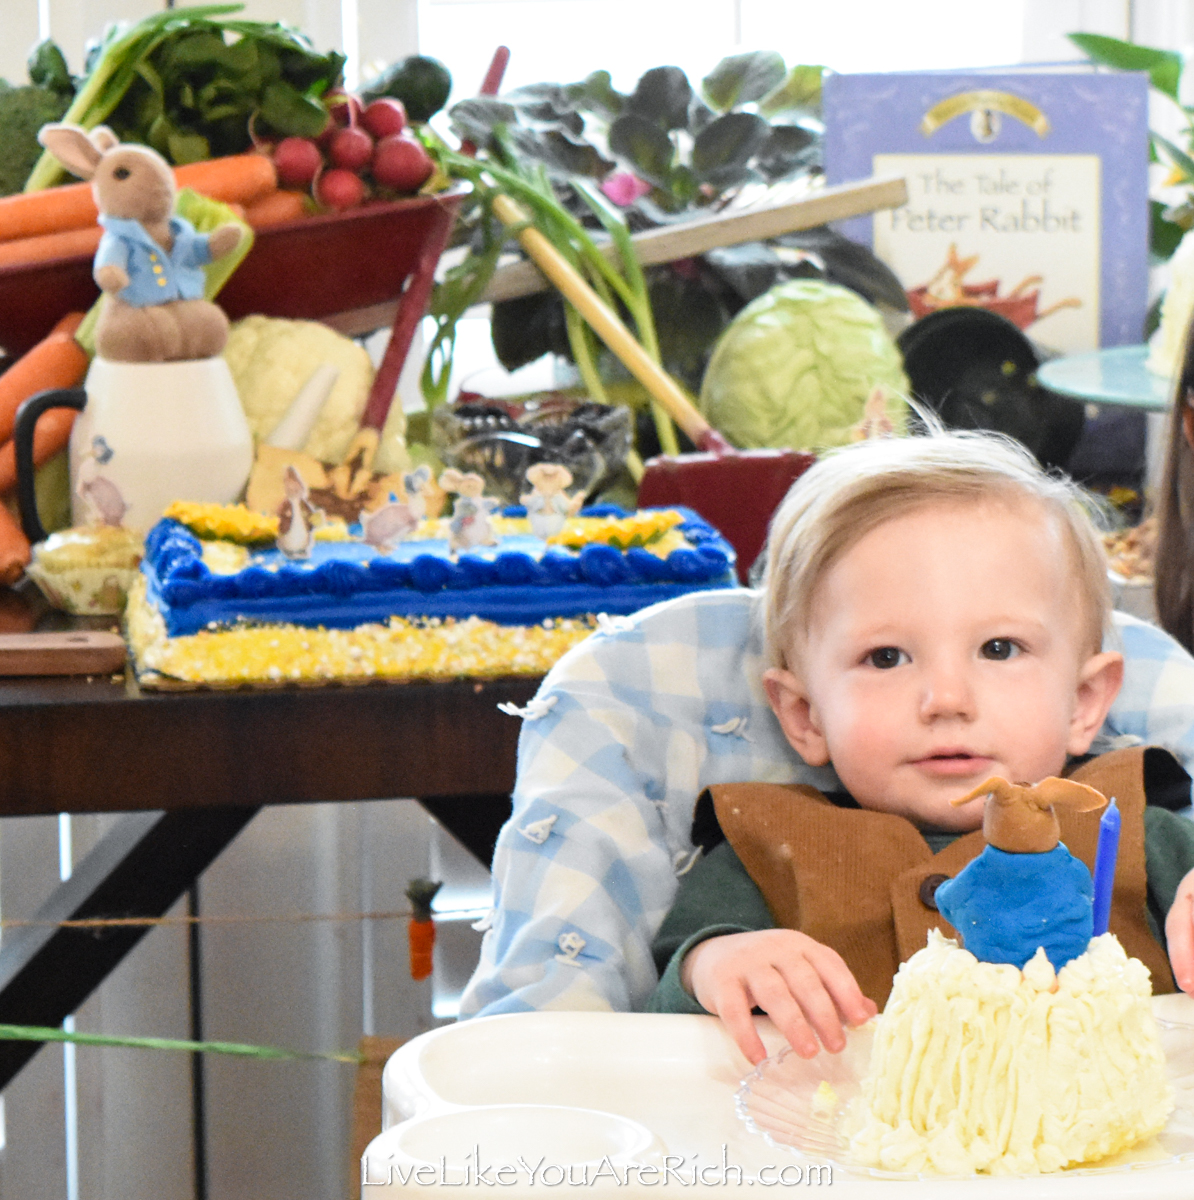
When we were about to sing Happy Birthday to him, I took off the top layer of the cake and set it on his high chair to use it as his smash cake.
It turned out as an easy way to make a cake for family and smash cake together.
It was simple to make minus the fondant Peter Rabbit.
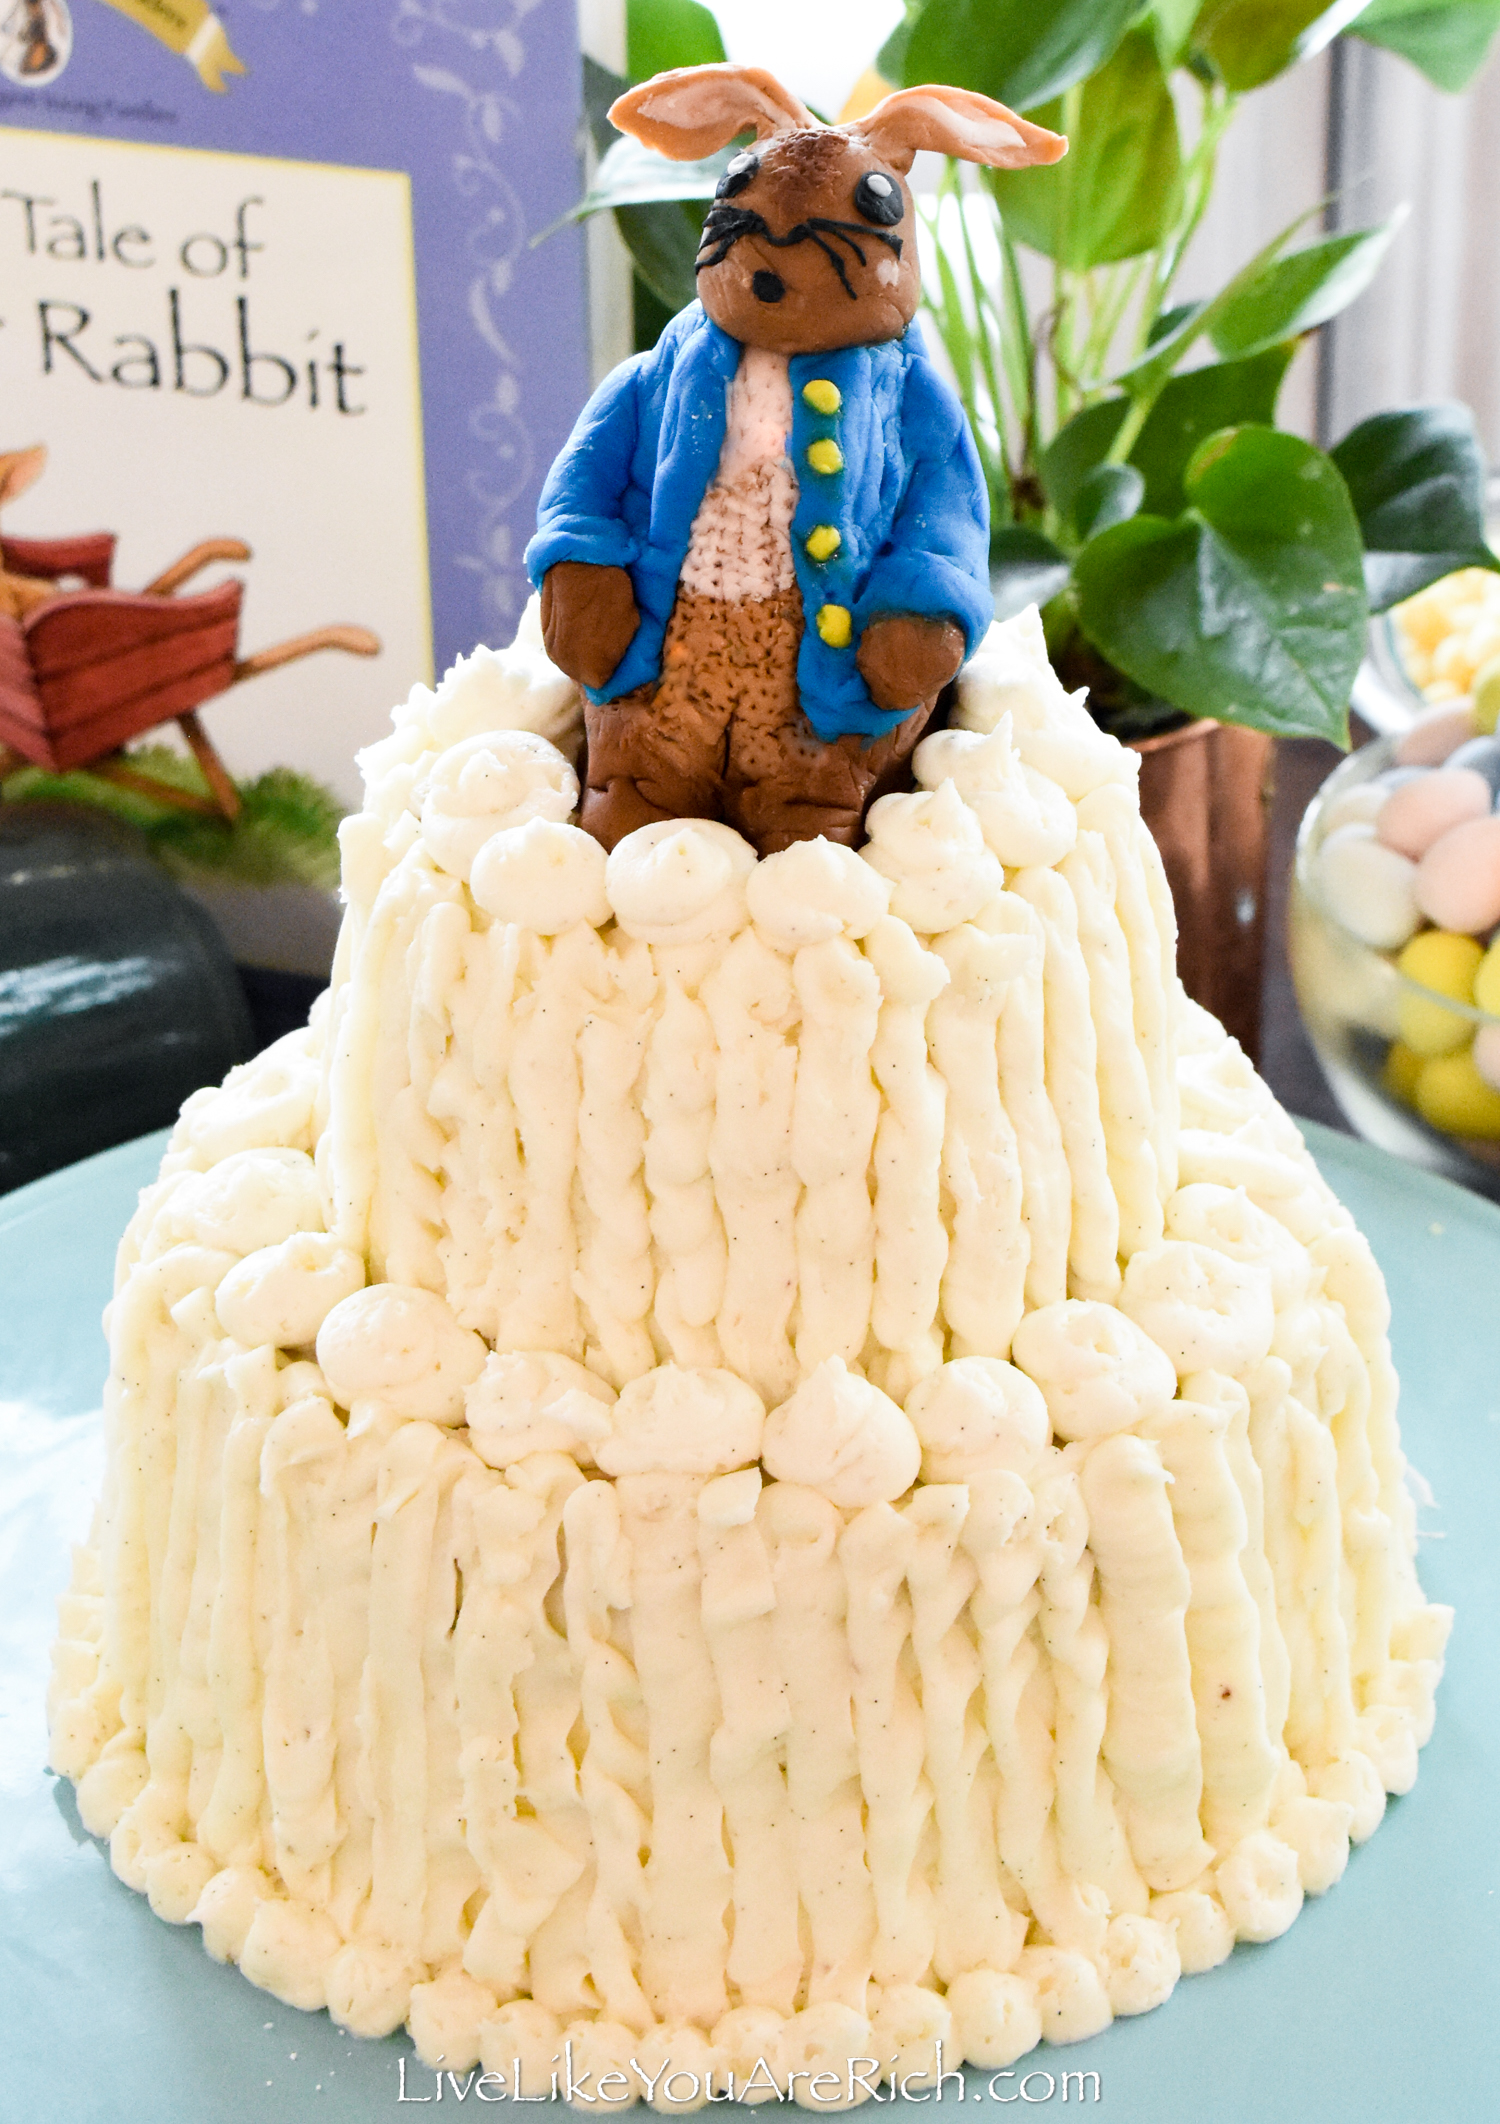
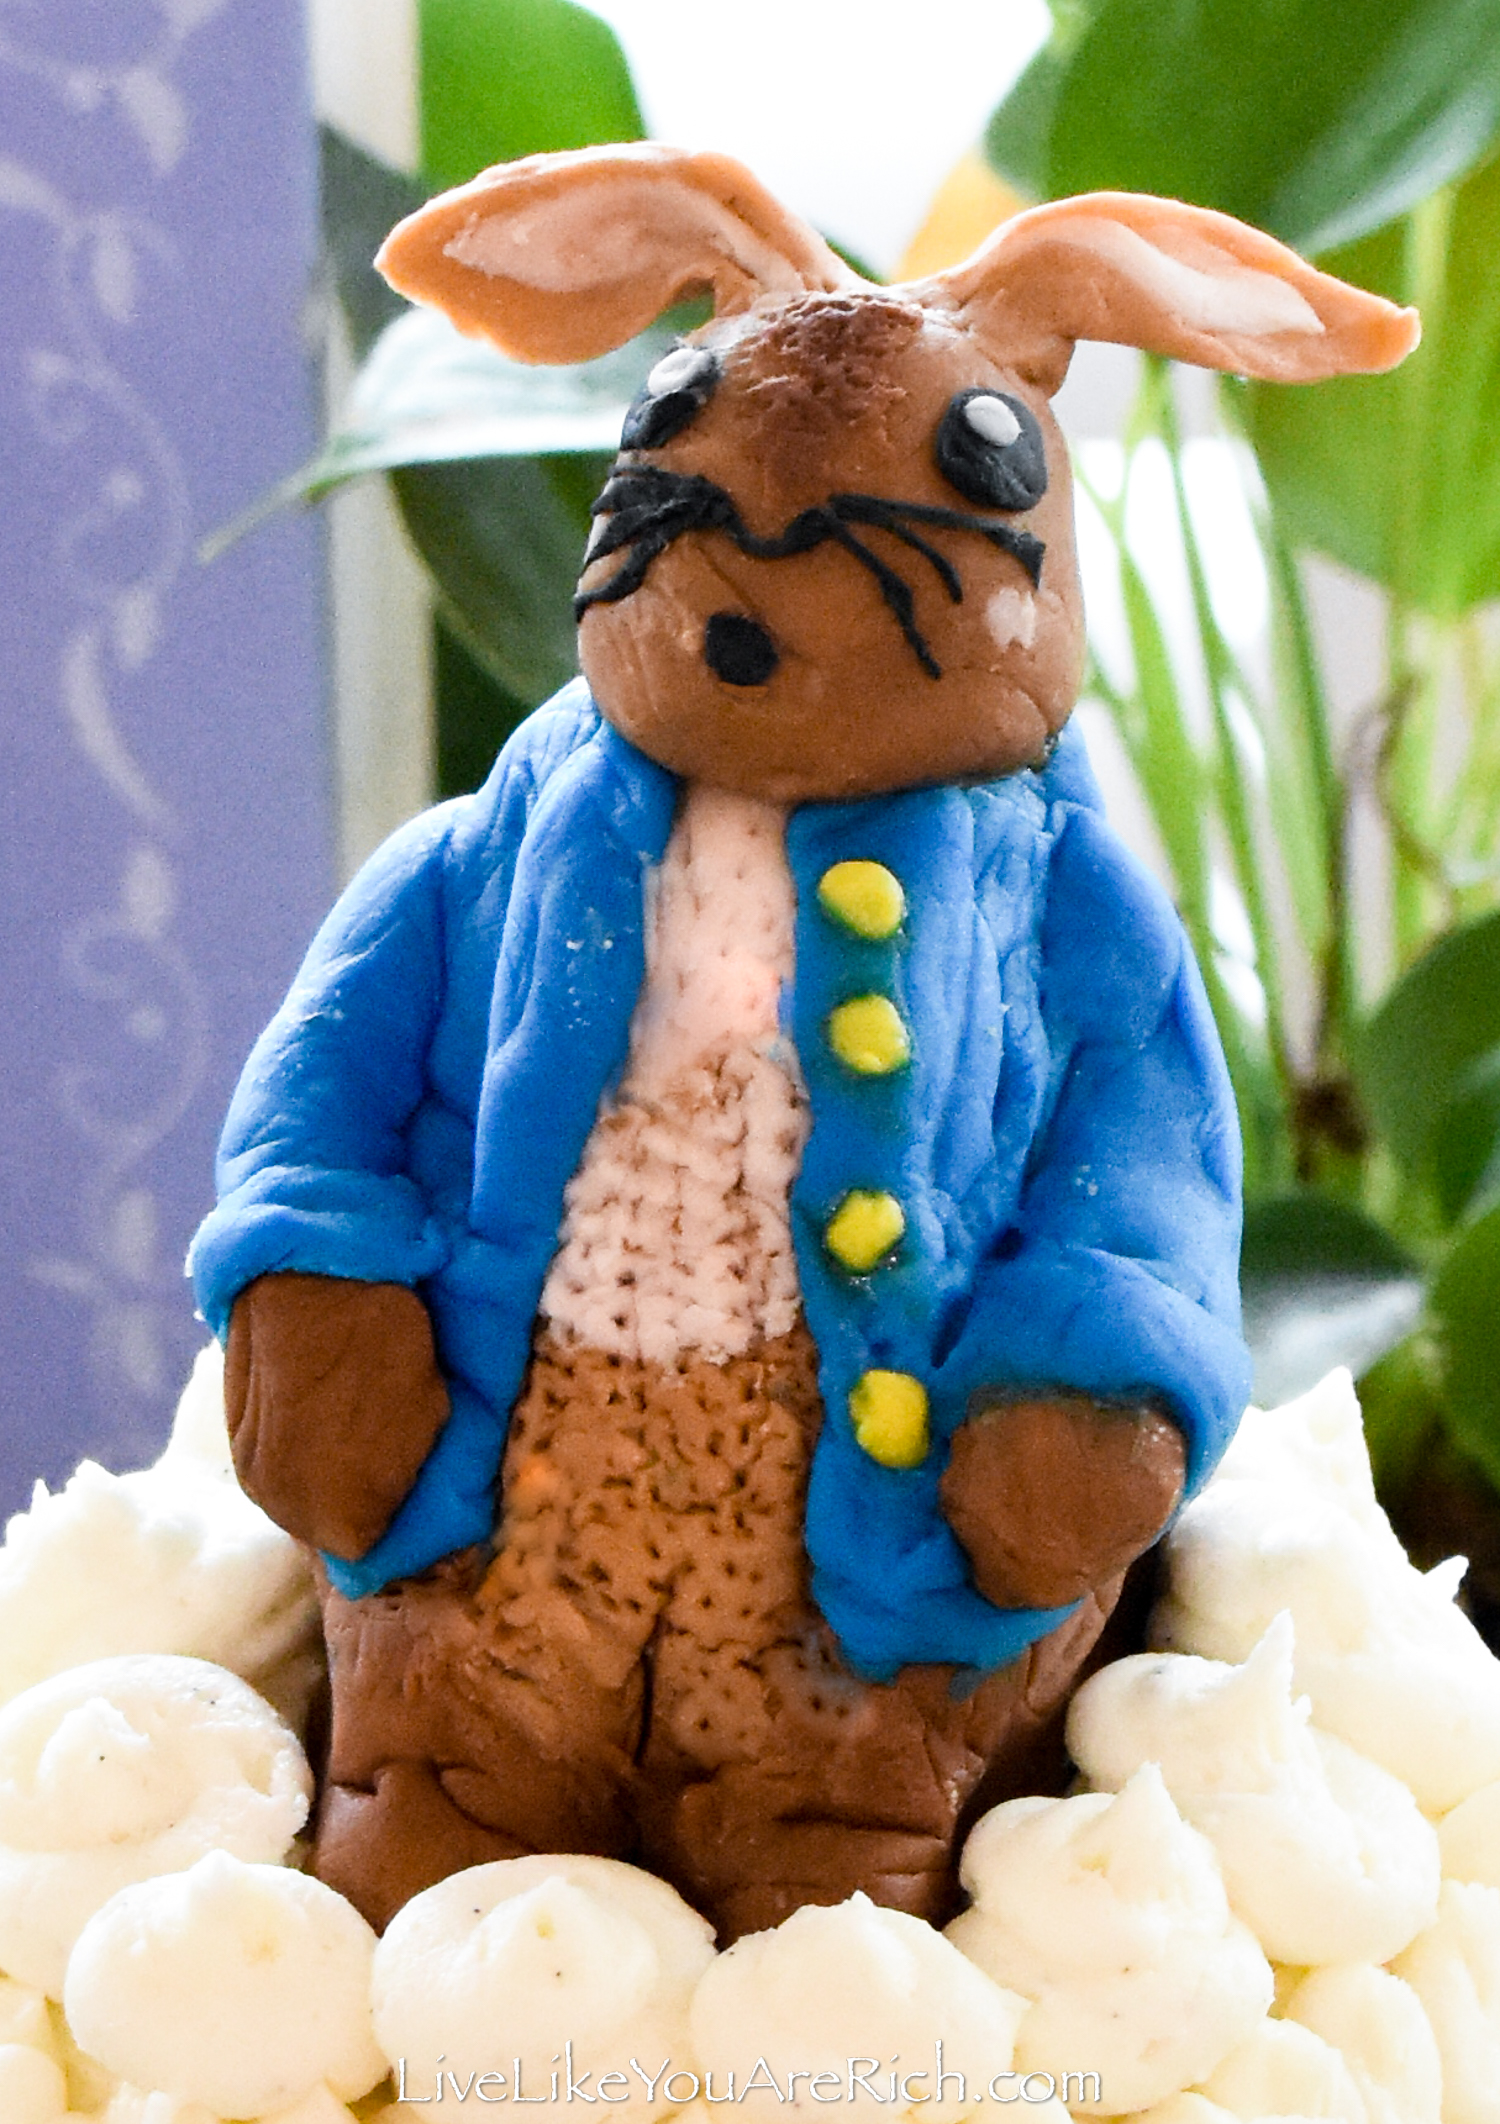
I have never created a character out of fondant before and it took me about an hour to do. As my first experience fondant modeling a character, I was pretty happy with the results.
However, I did not intend this Peter Rabbit to take me so long to create.
It would take way too long to try to describe how I made the fondant Peter Rabbit, so, I filmed it and am attaching the video on this webpage.
I believe the film will be the best way for you to see how to make one of your own if you decide to do so.
My nephew said that ‘I am the best Peter Rabbit maker he knows’.
That glowing review plus a few other positive comments at the Peter Rabbit birthday party made me feel like the 50+ minutes it took to make Peter Rabbit was worth it!
And don’t worry, I sped up the video so it’s not too long to view.
As mentioned, the cake itself was easy to make and only cost me a few dollars.
I also found the pack of natural-colored Wilton fondant on sale for $2.50 at Joann’s or Walmart— I can’t remember which, so total the cake cost me about $6.00.
Our guests said it was great and my son, Brighton, loved it!
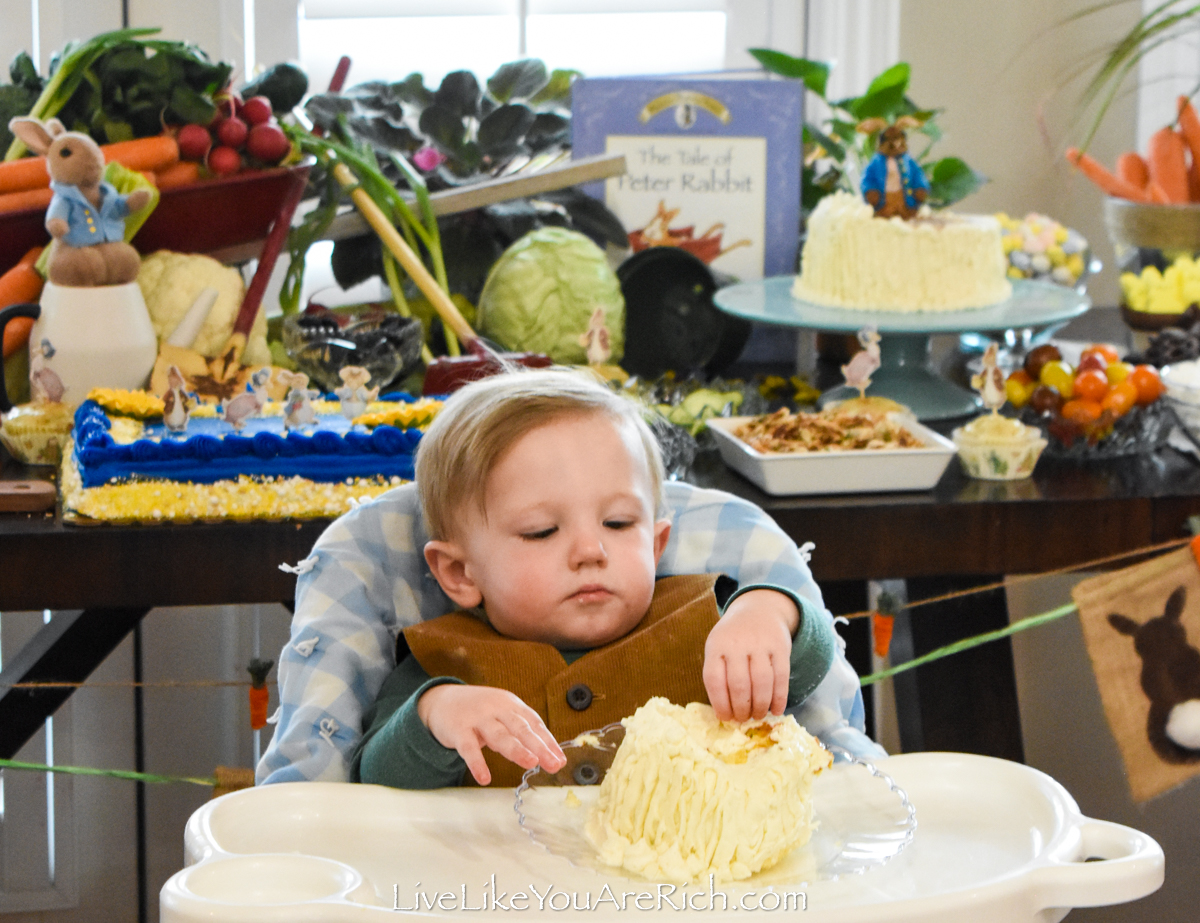
He dug right in and ate quite a bit of it!
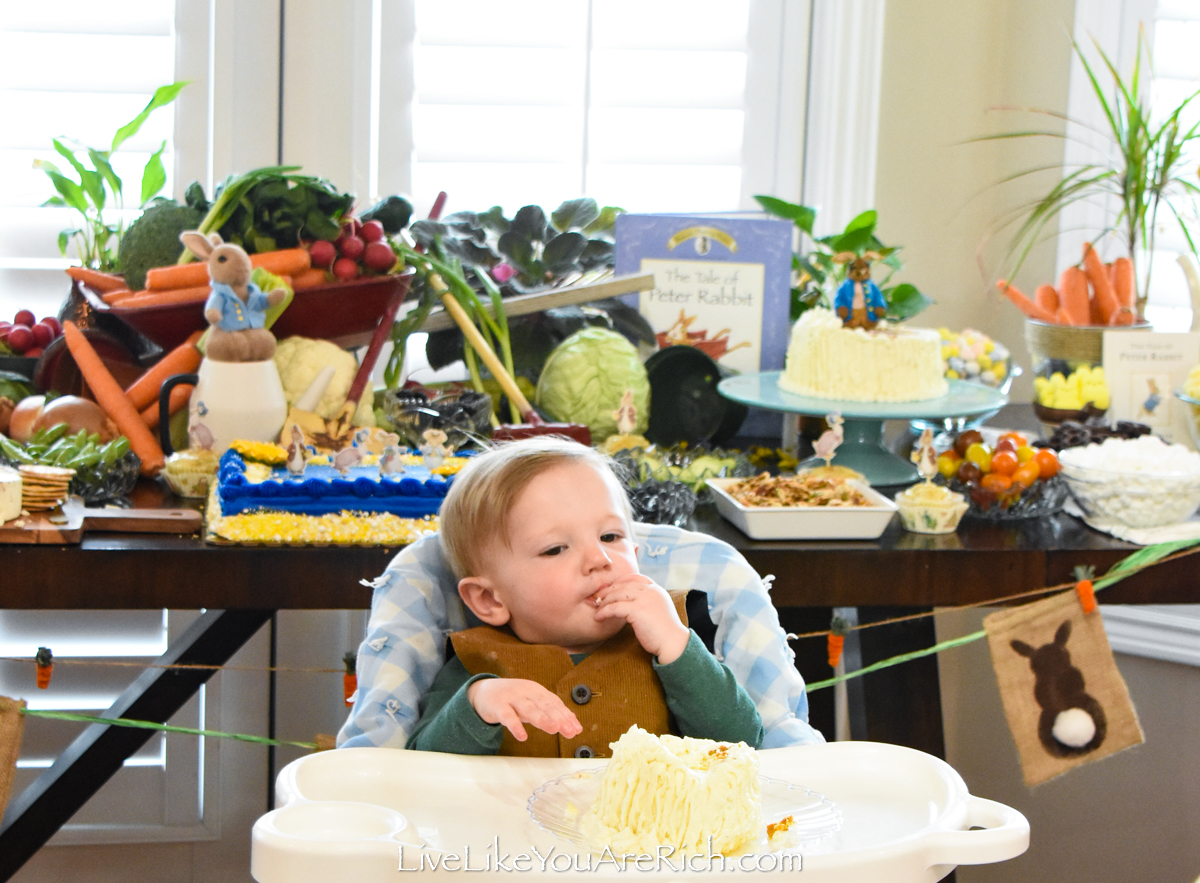
This was also fun to see. Each of my children has approached their smash cakes differently and Brighton has been the most enthusiastic eater of all four of them.
Supply List for Fondant Peter Rabbit Vanilla Bean Cake
1 yellow cake mix and needed ingredients.
Fondant pack Wilton natural skin colors
frosting/piping bag
piping tips: 104 Petal for the sides of the cake, round tips for icing layers and top and cutting out Peter Rabbit’s fondant eyes and buttons.
rolling pin
straight edge for frosting
toothpick
water
Instructions for how to make this Fondant Peter Rabbit Vanilla Bean Cake
Bake a yellow cake mix in 2- 6″ round pans that are greased and floured for easy removal.
Once baked (according to the directions on the box), allow the cakes to cool fully.
Using a butter knife, loosen the edges and tip the pans upside down to remove the cakes.
Once the cakes have cooled, using a cake leveler, level them each into 3 slices. You will end up with 6 layers of cake.
Put aside the best, most level cake layer for the top of each cake.
Make this vanilla bean buttercream frosting recipe and put 7/8th of the recipe into piping bags. You’ll want the following icing tips: 104 Wilton leaf piping tip, medium round tip, large round tip.
Pipe frosting on the first layer of cake and spread it around with an icing spatula.
Add the next layer of cake and pipe the frosting on and spread it around.
Add the top layer of the cake and pipe on frosting and spread it around.
Add 1/4 C heavy whipping cream to the remaining 1/8th of frosting in the mixer and mix well to create a crumb coat to spread on the sides of the cake.
Then add the crumb coat to the sides of the cake.
The crumb coat is important to make sure the cake doesn’t crumble. It also creates a base for good adhesion of the thicker frosting when you pipe on the ribbon designs.
Using a sharp edge smooth out the sides and top of the cake/icing and place the cake in the fridge for about 30 minutes to cool and harden the crumb coat.
To make the next layer of 3 layered cake aka the “smash cake”, I simply used a round cookie cutter about 3″ in diameter and stamped the 3 layers of cake with it. I followed the exact same process/steps as the bottom three layered cake, so I didn’t film that. Just repeat the aforementioned steps, icing and cooling the cake.
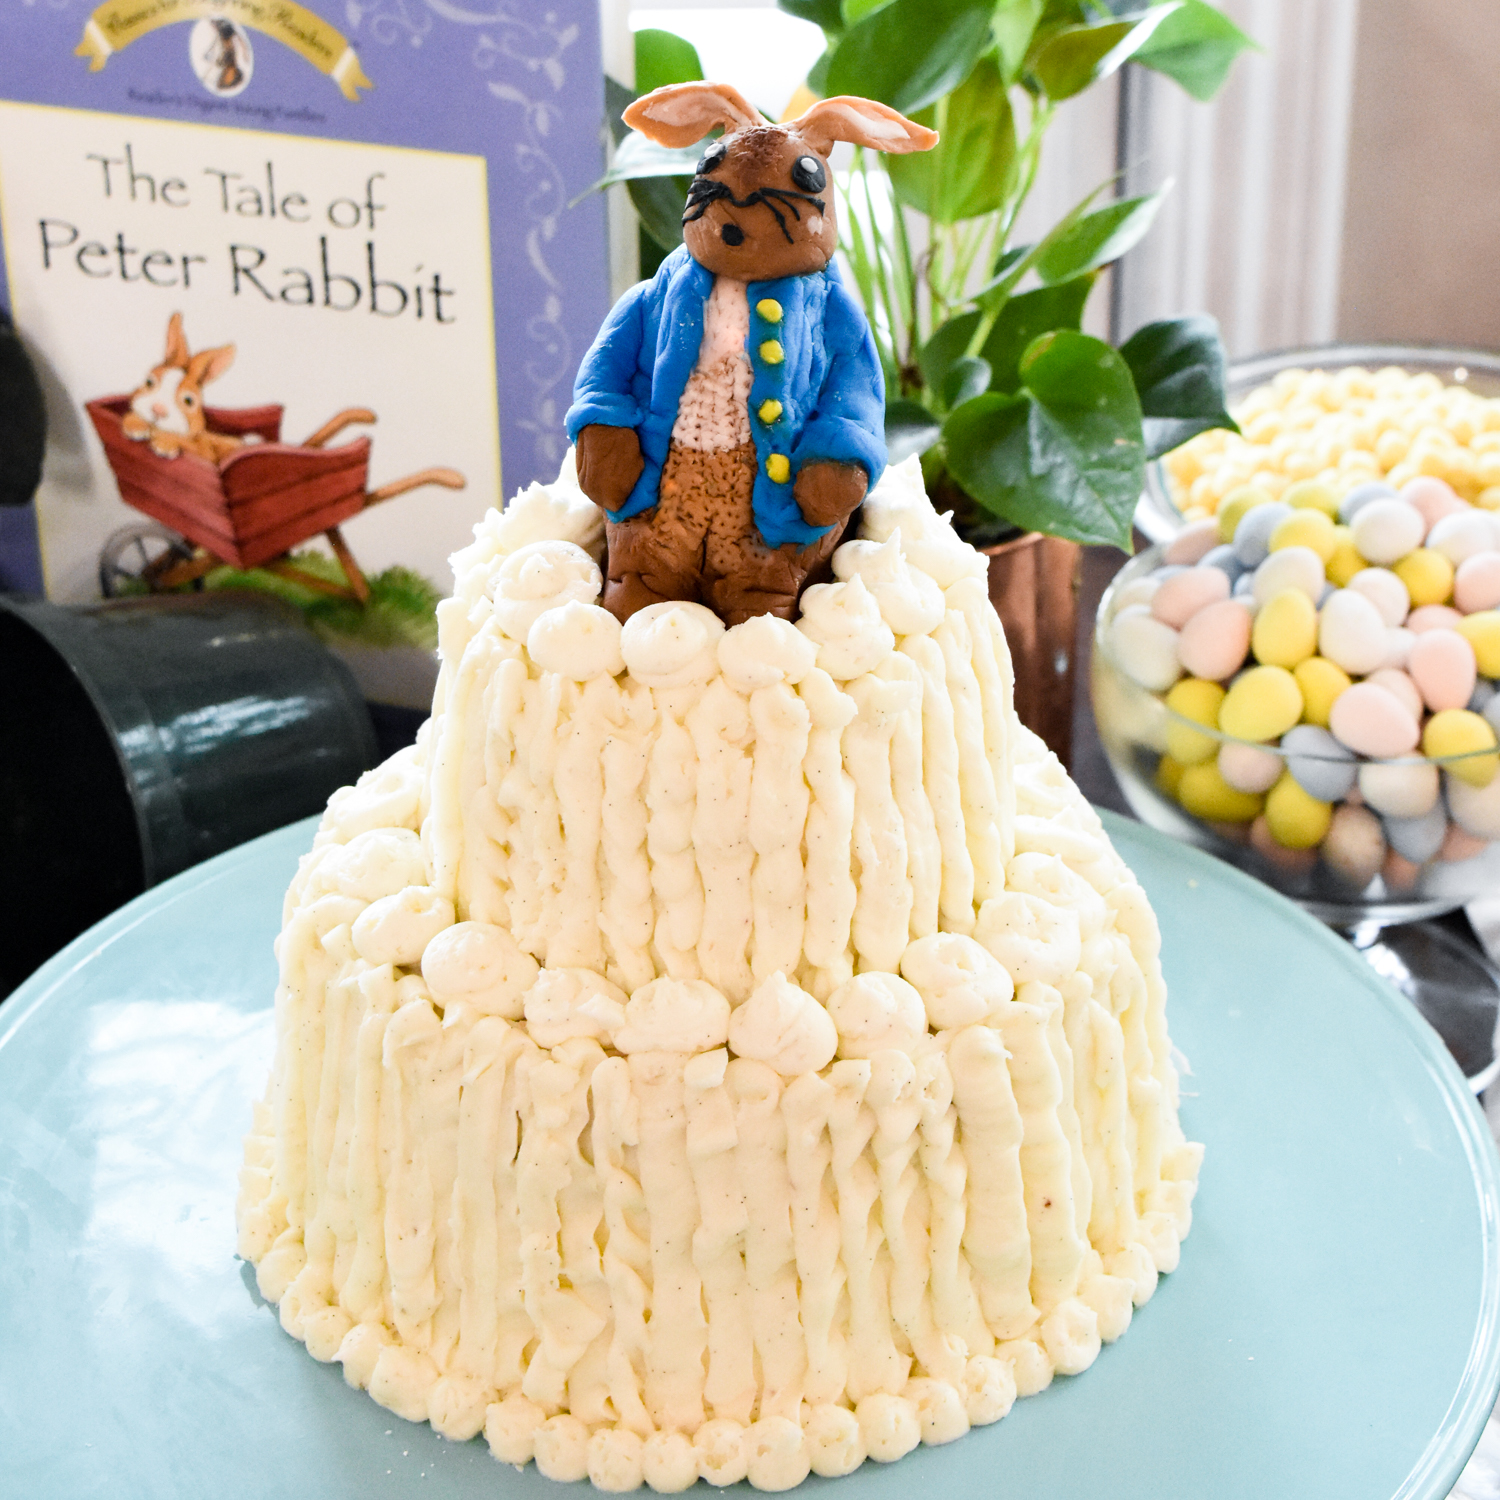
Once both cakes have layered frosting and cake and have their crumb coats on and are cool, you will make the design with the 104 leaf piping tip on the sides.
You simply hold the piping bag at about a 45-degree angle to the cake and start at the base of whichever cake you are decorating and run a ribbon of icing vertically from the bottom to the top.
You go around the entire cake like this making vertical ribbons on it.
Next, take a medium-sized round piping tip and put dots of icing on the top middle, and bottom of the cakes.
That’s it… well, you’ll need to create a fondant Peter Rabbit or buy and place a cake topper on top.
Watch the video for the steps on how I made the fondant Peter rabbit.
Note- that I used a napkin with Peter Rabbit on it as inspiration on how to make this fondant Peter Rabbit.

I hope this helps you to create a fondant Peter Rabbit Vanilla Bean Cake if you choose to do so.
PETER RABBIT POSTS
PETER RABBIT 1ST BIRTHDAY PARTY
PETER RABBIT TABLESCAPE FOR KIDS
PETER RABBIT TABLESCAPE FOR ADULTS
PETER RABBIT PARTY FOOD AND DECOR
PETER RABBIT BIRTHDAY CAKE (FONDANT RABBIT)
I HOPE THIS POST SERVES USEFUL FOR CREATING A FONDANT PETER RABBIT VANILLA BEAN CAKE.
Thanks!


For other ‘rich living tips’ please subscribe, like me on Facebook, and follow me on Pinterest and Instagram.